Paper Robots, Part 4
It took a few round, and I went down a few dead ends, but today I finally managed to make a flying paper robot. Originally, I started out with a flying sphere design copied wholesale from the JDM Flying Sphere. Eventually I figured out that I didn’t know the first damn thing about making a flying robot and that it would probably make a bit of sense to try and build one that had been successfully flown by more than one other person working for the Japanese military.
So, I decided to build a quadcopter. A few people have built those, and it looked like a simpler problem.
The hardest part about getting started with quadcopters is choosing which of the half-dozen or so control platforms best describes you as a quadcopter enthusiast. I settled on the ArduPilot Mega v2. Then I settled on the MultiWii based Quadrino. Both are perfectly capable of loitering around like a lazy robot, but the Quadrino has a certain simplicity and easy-of-use that I found attractive, so I’ve been using that one the most.
 Too big to fail?
As I had a few 750W motors lying around from the flying sphere experiments I decided to build my first quad out of those. This created a few unexpected problems, and a few very dangerous close calls. With 3kW of motor connected to the frame it was very much a robot, in the kill all humans sense of the word. While I did manage to make it hover, I eventually learned my lesson and decided to go with something a little more petite.
It seems that the point of all these paper robot exercises has been to try and find interesting design patterns that one can use to build cheap, reproducible robots with. With that in mind, the hard part about building a paper quadcopter frame was going to be getting it rigid enough to fly with some semblance of control.
 Folded triangle failure.
I started with folded up triangle beams, as I had been using these to make legs for the walking robots earlier. Unfortunately, they proved to be difficult to anchor in a cross configuration. I could get one beam rigid, but the other would be split in two. The frame was floppy, and had a very wide profile against the prop downwash, and was a fantastic failure.
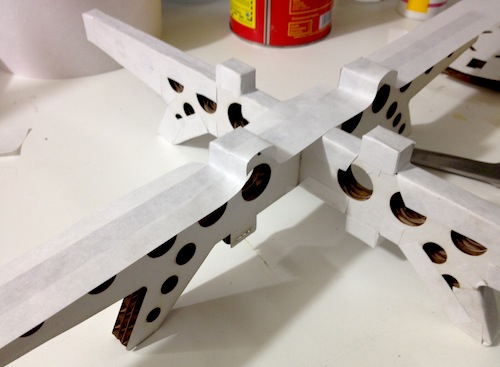
After that, I abandon triangles. I decided to try and build laminated cardboard beams in the hopes that they would be rigid enough to make a frame. For some reason I was still hung up on folding, and went with a triangular folded stiffener. It too was a dismal failure. Eventually it became clear, that I was going to have to find some way to make the arms cross each other at the center, and to find some other way of attaching the stiffeners.
In retrospect I probably should have started with slotted construction from the beginning, but sometimes you just have to do things the wrong way first. Maybe it makes for a better story. Maybe it makes figuring out the right way that much more enjoyable once you pull your head out of the… bushes.
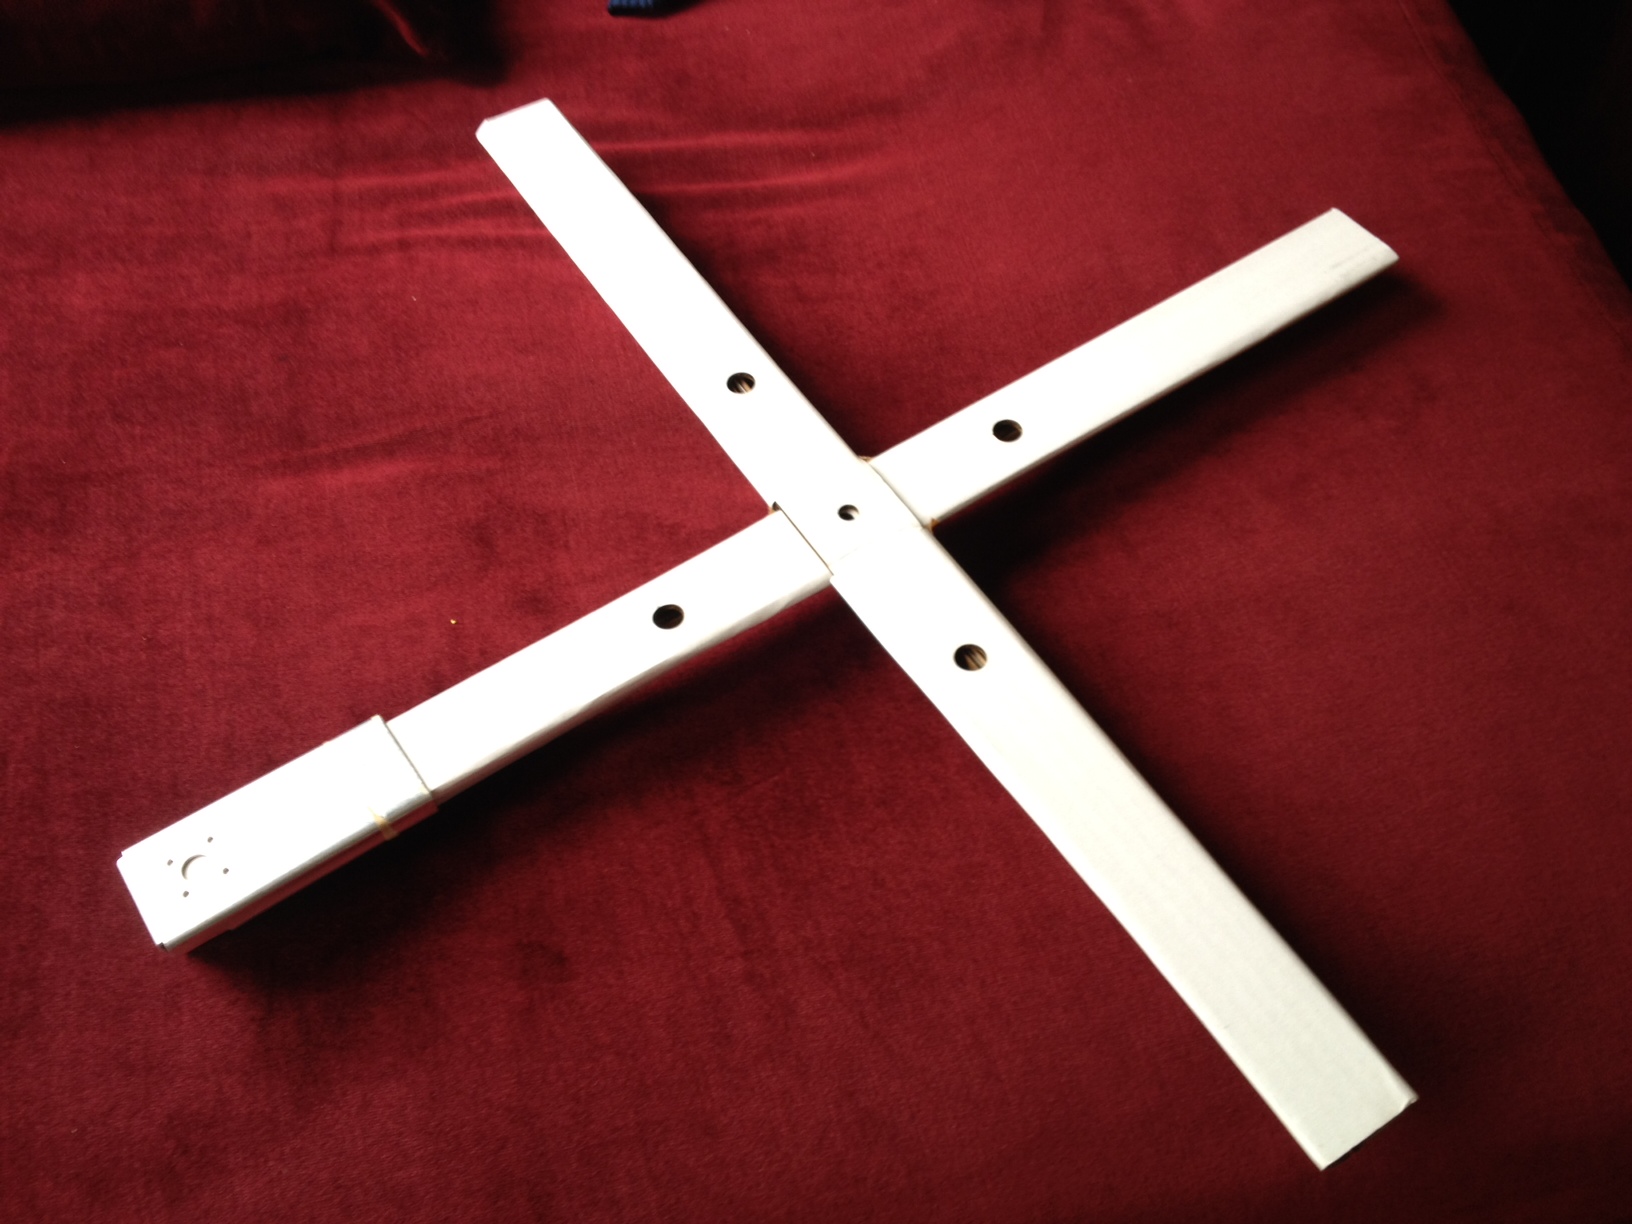
 Closer...
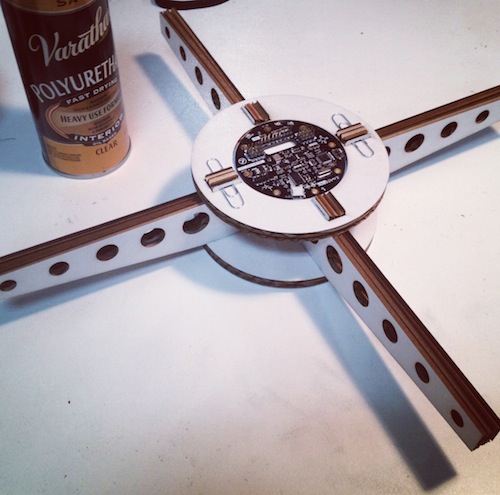
Hot off the laser, I slotted the new frame together. Already it was considerably stiffer than any of my previous attempts. By gluing the layers together, I could make the frame stiffer still. The final piece in the puzzle was when I remembered a bit about applying polyurethane to paper my friend Pete told me about when I first showed him my walking robots. After applying kraft tape to strengthen the edges of the cardboard, I sprayed the frame down 3-4 times with an oil based polyurethane wood finish. At 52 grams, the final frame was incredibly light, water proof, and very, very rigid. Surprisingly so!
 Stronger, faster, lighter.
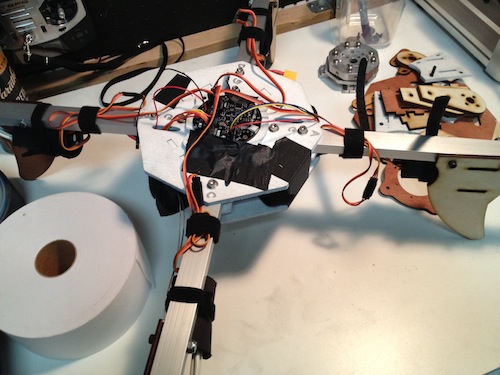
Impatient for my HobbyKing order to arrive, I purchased a set of 2213/34 Cobra motors from Innov8tive Designs, (highly recommended. Thanks again for the advice!), and set about integrating the electronics. This involved finding a way to attach 4 motor controllers, a radio, battery, and the control board onto the paper frame. It needed to be done in a way that wouldn’t compromise frame integrity, be easily serviceable, and survive multiple crash landings from operator and software error.
By notching the stiffener plates I found a novel way to use large black rubber bands to secure various elements to the frame. They have proven to be very versatile in holding ESCs, cables, and even heavy 4S battery packs to the underside of the frame. The 1.75 cup ZipLock plastic container that acts as the crash dome is even secured with rubber bands.
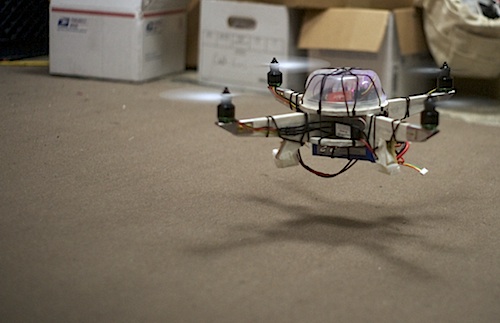 You got to get up to get down.
Without the battery, this little guy weighs 600 grams and pushes approximately 2400. With the hulking 4S lipo pack installed it comes in just under 900 grams and takes off at about 1/3 throttle. As the motors are small enough, I can fly indoors. The motor mounts where the only part where I resorted to using sheet metal, but I’m fairly confident they can be replaced with a heavy card stock. I can probably knock another 50-100 grams off the frame by replacing the cable harness as well.
…but that’s for another day. Now, I must go outside and fly.
Update:
If you’d like to make your own, here are the flat patterns. FlyingPaper.pdf